Step 1. [ Open Thunderbird ]
|
- |
Start / Programs (or All Programs) / Mozilla Thunderbird / Mozilla Thunderbird |
|
|
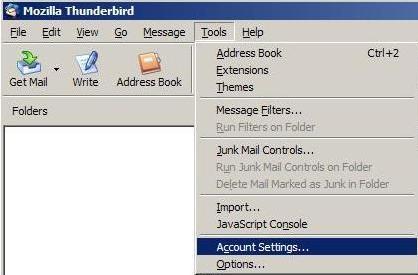
Step 2. [ Account Settings ]
|
- |
click Tools from the Menu
|
|
|
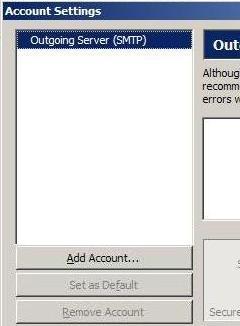
Step 3. [ Add Account ]
|
- |
click Add Account button on this screen |
|
|
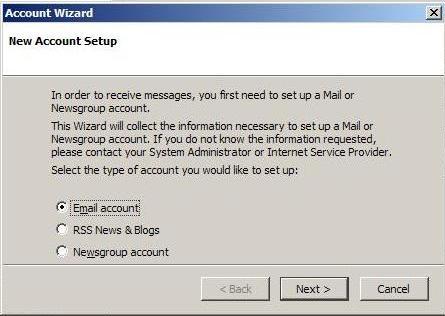
Step 4. [ Account Setup ]
|
- |
click Email account (so the dot appears beside it) |
|
- |
click Next |
|
|
Step 5. [ Identity ]
|
- |
type your name in the box beside 'Your Name:' and your Odynet email address in
the box beside 'Email Address:' |
|
- |
click Next |
|

|
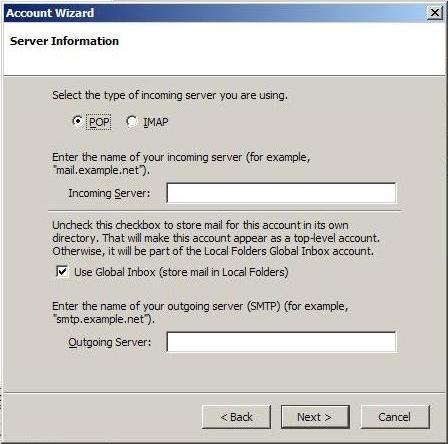
Step 6. [ Server Information ]
|
- |
click POP (so the dot appears beside it) and type
'mail-in.ody.ca' in the box beside 'Incoming Server:'.
Make sure 'Use Global Inbox' is checked and type
'mail-out.ody.ca' in the box beside 'Outgoing Server:' |
|
- |
click Next
|
|
|
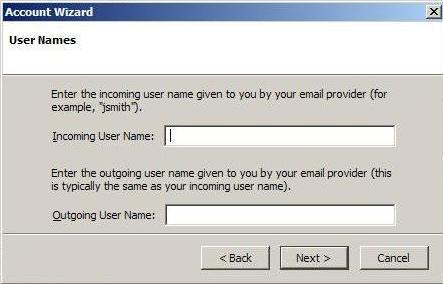
Step 7. [ Usernames ]
|
- |
type your Odynet username (the part before @ody.ca) in to
the box beside 'Incoming User Name:' AND 'Outgoing User Name:' |
|
- |
click Next |
|
|
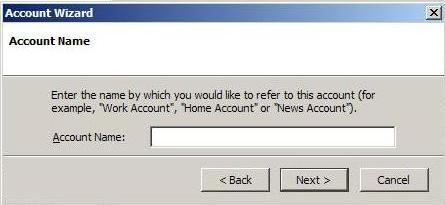
Step 8. [ Account Name ]
|
- |
this is what you want the account to be named on your computer (and ONLY your
computer). It is probably best to type in your Odynet email address in the
box beside 'Account Name:' |
|
- |
click Next |
|
|
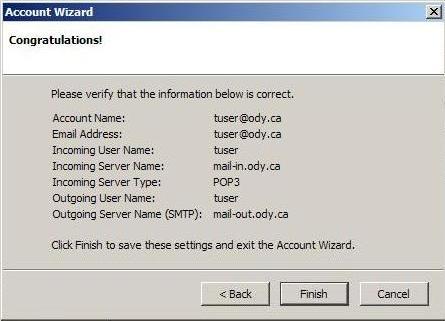
Step 9. [ Congratulations! ]
|
- |
check all the settings and click Finish if you are satisfied (or Back if you are
not). |
|
|
|
|
|