Step 1. [ Open Windows Live Mail ]
|
- |
Start / Programs (or All Programs) / Windows Live Mail |
|
|
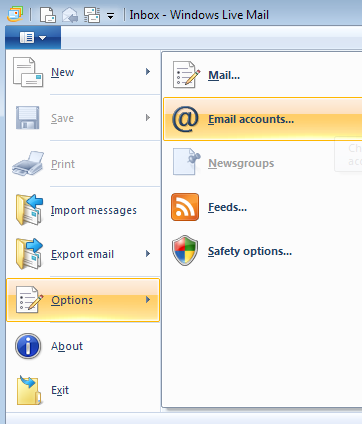
Step 2. [ Main Menu ]
|
- |
click the blue tab in the top left corner
(to the left of 'Home')
|
|

|
Step 3. [ Email Accounts... ]
|
- |
select 'Options' from the list |
|
- |
click the 'Email accounts...' option |
|
|
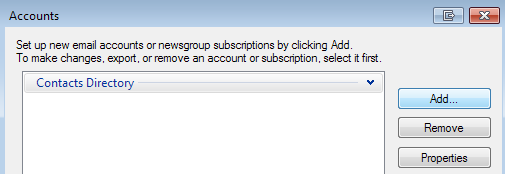
Step 4. [ Accounts ]
|
- |
from the Accounts screen, click the 'Add...' button |
|
|
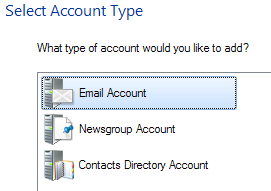
Step 5. [ Account Type ]
|
- |
Select 'Email Account' from the list |
|
- |
click Next |
|
|
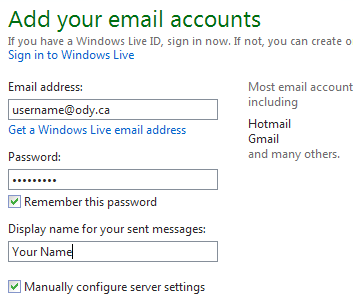
Step 6. [ E-mail Settings ]
|
- |
type in your Odynet email address |
|
- |
type in your Odynet Password |
|
- |
type in your display name |
|
- |
check the box that reads "Manually configure server settings" |
|
- |
click Next |
|
|
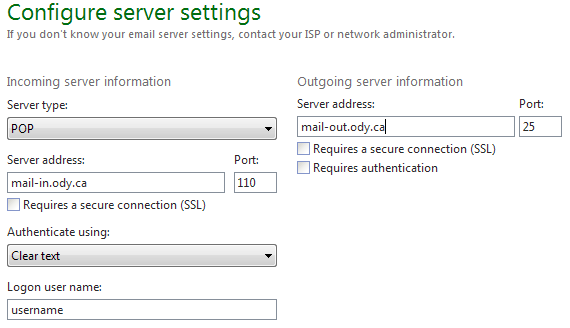
Step 7. [ Server Settings ]
|
- |
choose 'POP' for the Incoming Server type dropdown box |
|
- |
type 'mail-in.ody.ca' for the Incoming Server address and make sure the Port is '110' |
|
- |
choose 'Clear text' for the Authenticate using dropdown box |
|
- |
type your Odynet username in the 'Logon user name' field (do NOT type @ody.ca) |
|
- |
type 'mail-out.ody.ca' for the Outgoing Server address and make sure the Port is '25' |
|
- |
* NOTE *If not using an Odynet connection, select "Requires Authentication" and set port to '587' |
|
- |
'Requires a secure connection (SSL)' and 'Requires authentication' should NOT be checked |
|
- |
click Next |
|
|
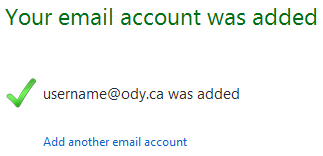
Step 8. [ Finished...Almost ]
|
- |
You have successfully set up the email account, but there are changes we need to make. |
|
- |
click Finish |
|
|
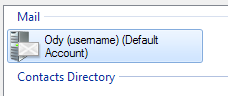
Step 9. [ Accounts (Part 2) ]
|
- |
Make sure your new account shows up under 'Mail' |
|
- |
single click on your new mail account |
|
- |
click the Properties button |
|
|
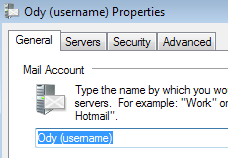
Step 10. [ Account Properties ]
|
- |
click the 'Advanced' tab from the email properties window |
|
- |
single click on your new mail account |
|
- |
click the Properties button |
|
|
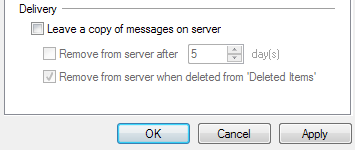
Step 11. [ Remove from Server ]
|
- |
Near the bottom of the screen there will be a section labelled 'Delivery' |
|
- |
uncheck 'Leave a copy of messages on server' (make sure this option is NOT checked) |
|
- |
click Apply |
|
- |
click OK |
|
- |
click Close button from Accounts screen |
|
- |
you are now officially set up! |
|
|