Following are the steps changing the Wireless Channel:
*Note: For best results, if possible connect the device directly to the router via Ethernet cable.
Click HERE to download the PDF version.
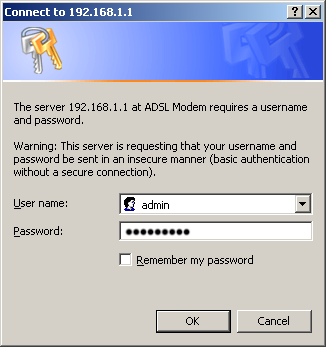
Step 1: Access the modem
Open a browser, and navigate to 192.168.1.1

A prompt for username and password will appear.
By default, username is 'admin' and password is 'admin'
Step 2: Access Wireless Settings
Once logged in, Choose 'Interface Setup' on the top menu
Choose 'Wireless' under the sub-menu.

To view/change the current Wireless Channel
By default, it is set to 'Auto', beside the selection box indicates the current wireless channel used.
To change the channel, use the drop down and choose the appropriate channel desired.

It requires some trial and error to find a clear channel depending on the area/surroundings.
Typically try to choose a channel frequency opposite from its troubled channel frequency.
For example; if currently set to channel 11, try changing it to channel 1.
Step 3: Save Settings
Hit 'Save' and the modem will now broadcast on the new channel.
